Driving Success Through Collaboration & Care
March 14, 2024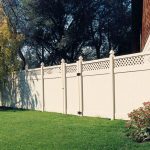
Commitment to Quality: Country Estate Fence’s Promise
May 15, 2024Fence Installation Tips for the DIY Enthusiast
Starting a DIY fencing project can improve your property and give you a great sense of achievement. For more privacy, security, or a nicer-looking home, consider putting up your own fence. This guide is designed to help you navigate the process from planning to completion, ensuring your fence is not only functional and beautiful but also stands the test of time.
Tip #1: Prioritize Safety
The first and foremost consideration in any DIY project, especially one involving physical construction like fence installation, should be safety.
- Call Before You Dig: Before any digging occurs, it’s your legal responsibility to call 811. This free service marks out all underground utilities to the meter, so you can dig safely. The customer is responsible for utilities past the meter. Avoiding this step can lead to serious injuries, service disruptions, costly repairs and potentially fines and fees.
- Personal Protective Equipment (PPE): Always wear appropriate safety gear during construction. This includes sturdy gloves, safety goggles and ear protection if you’re using loud power tools.
- Tool Safety: Familiarize yourself with all tools needed for the job. Read manuals carefully and always use tools for their intended purpose to prevent accidents.
Tip #2: Thorough Planning
Proper planning is arguably the most critical phase of your fence installation project. It sets the foundation for everything that follows.
- Check Property Lines: Make sure to construct the fence within the limits of your property. You might need to hire a professional surveyor to accurately determine property boundaries.
- Understand Local Regulations: Research local building codes, zoning laws and homeowners’ association rules, if applicable. This step will inform you of specific requirements like fence height, style or material restrictions, which can vary greatly depending on your location.
- Design Considerations: Plan your fence layout on paper or using a digital tool. Consider gates, corners and how you’ll handle changes in elevation or obstacles like trees and large rocks.
- Special Considerations for Swimming Pools: If your fence is intended to enclose a swimming pool, be aware that there are stringent rules to ensure safety:
- Self-Closing Hinges: Gates should be equipped with self-closing hinges to ensure they close automatically after opening.
- Latch Height Requirements: Gate latches should be placed high enough to prevent small children from reaching them easily.
- Minimum Height of Fence: The fence must be tall enough to prevent children from climbing over it. This is typically at least 48 inches but could be taller in some townships or to meet toe-hold rules.
- Maximum Gaps Between Pickets: To prevent small children from squeezing through, gaps between pickets should not exceed 4 inches.
Tip #3: Select the Right Materials
The choice of materials will directly impact the look, durability and maintenance requirements of your fence.
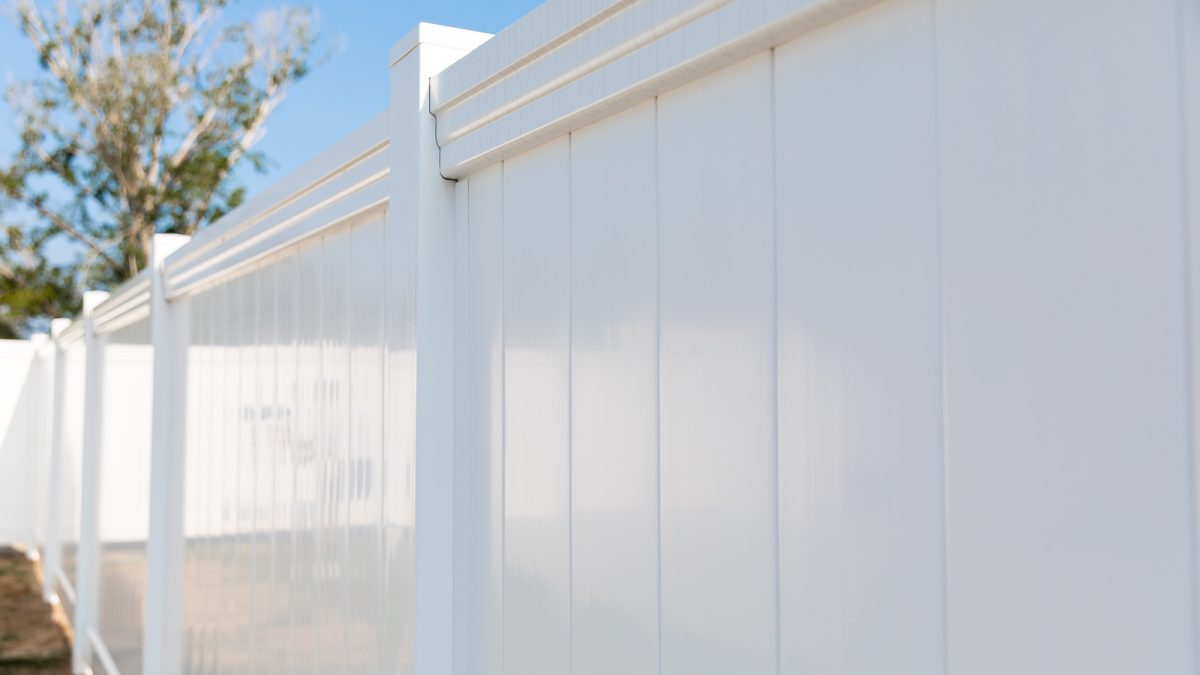
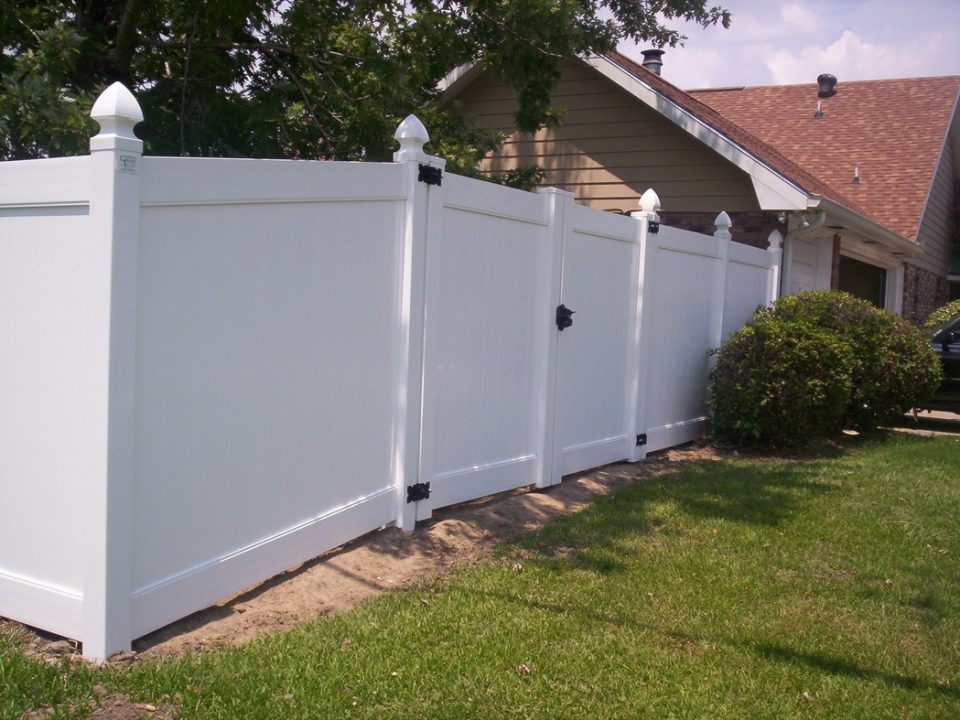
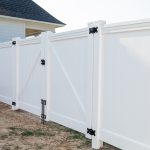
- Vinyl Fence: Known for its durability and low maintenance, a quality vinyl fence can last a lifetime. It’s an excellent choice for privacy as it provides a solid barrier that is both noise-resistant and aesthetically pleasing. Vinyl fences come in various colors and styles, with minimal maintenance.
- Vinyl Picket Fence: This type of fence combines the charming appearance of traditional wood pickets with the benefits of modern materials. A vinyl picket fence is resistant to rot, decay and pests, ensuring it enhances any property without the maintenance required by wood.
- Ranch Rail: Ideal for larger properties, ranch rail fencing is typically used for livestock containment or to mark property boundaries. Its open design maintains sightlines across your land while establishing clear borders.
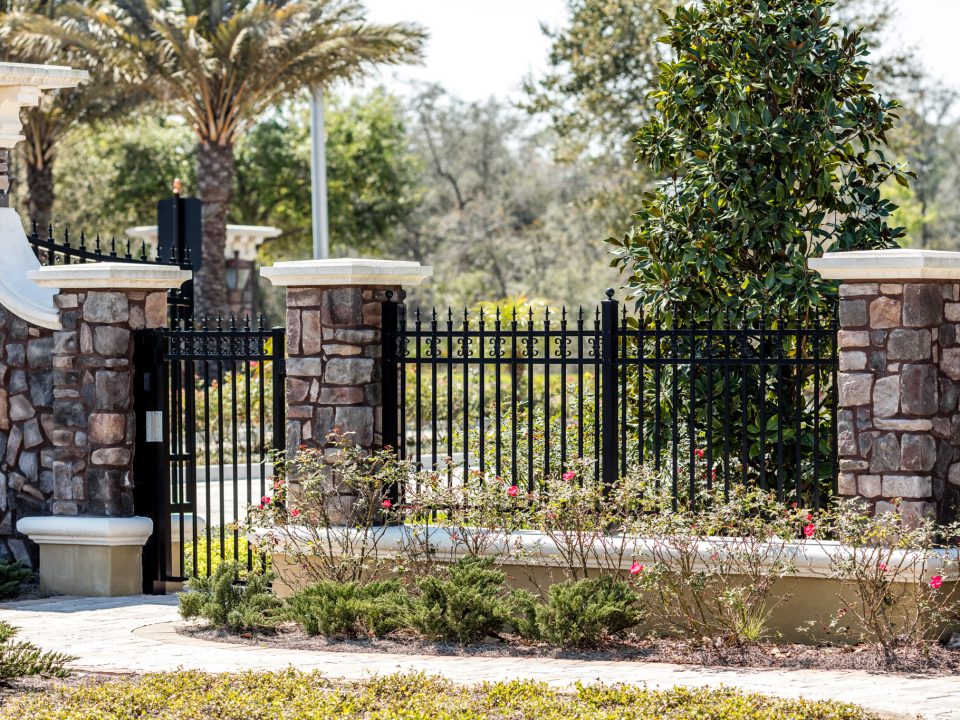
- Aluminum Fence: Aluminum fencing is favored for its durability and elegance. This type of fence offers excellent security and is often used around pools or front yards.
Tip # 4: Installation Process
The success of your DIY fencing project requires a quality installation.
- Setting Posts: The strength of a fence comes from its posts. Ensure posts are set deep enough (typically about one-third the height of the fence) and secured with concrete. This provides stability and helps prevent leaning or uprooting over time.
- Attaching Panels: Once the posts are in place and properly aligned, attach the panels or boards. Ensure they are level and uniformly spaced. For wood fences, consider the natural expansion and contraction because of the weather. Aluminum fence is installed by setting a post and installing a panel to that post. Attach the panel to the next post while it is being installed. This method “Post panel Post Panel installation.”
- Installing Gates: Gates require careful attention. They should be well-supported with extra concrete around the hinge posts and installed with high-quality hardware. Using adjustable gate hardware can help line the gate up perfectly..
Tip # 5 Finishing Touches
- Sealing and Staining: If you choose a wood fence, apply a protective sealant or stain to extend its life and enhance its appearance. This step is not needed with a vinyl or aluminum fence.
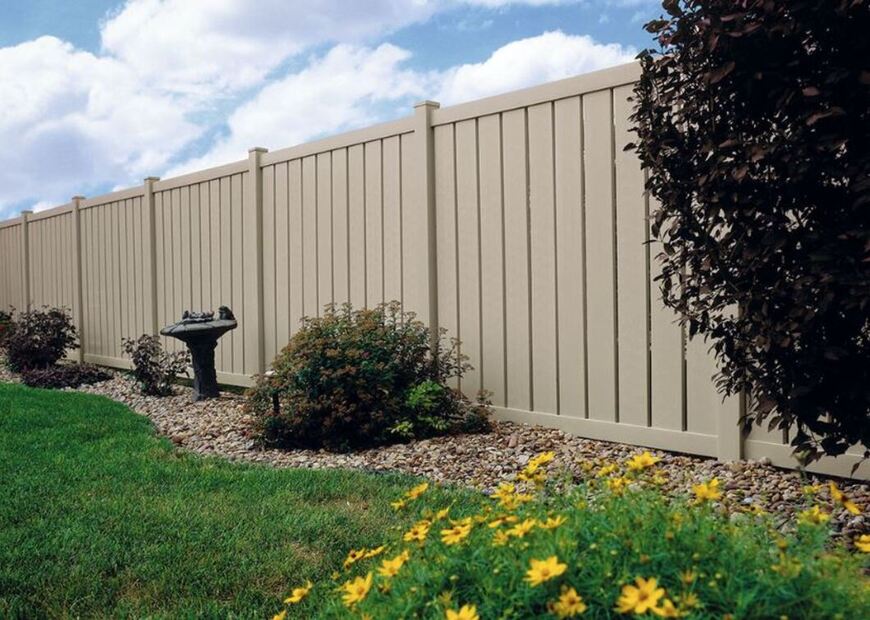
- Landscaping: Vinyl or Aluminum fencing is ideal around shrubs, flowers, and climbing vines. Unlike wood, vegetation will not deteriorate these products and will help the fence blend naturally with your garden.
If you feel overwhelmed or uncertain, professional help is just a call away. The staff at Country Estate Fence will provide guidance or can recommend fence contractors who have worked with our products.
Ready to get started? Send us a diagram with detailed measurements and fence style, height, and color preferred, and we will provide an estimate for the materials needed.
Baton Rouge LA 70817


